

DIY Windshield Crack Repair: A Step-by-Step Guide to Fixing Cracks Before They Spread
A cracked windshield can be a frustrating and potentially dangerous issue for any driver. While some cracks may seem small and manageable, they can quickly spread and compromise the structural integrity of your vehicle's windshield. In this guide, we'll walk you through the process of how to repair cracked windshields, from identifying the type of damage to the necessary tools and steps for a successful repair.
Why It's Important to Act Fast
Before diving into the repair process, it's crucial to understand the urgency of addressing a cracked windshield. A small crack can expand rapidly due to temperature changes, high-speed driving, bumps, potholes, and moisture entering the crack. Early repairs can prevent the need for a full windshield replacement and save you money in the long run.
What Kind of Cracks Can Be Repaired?
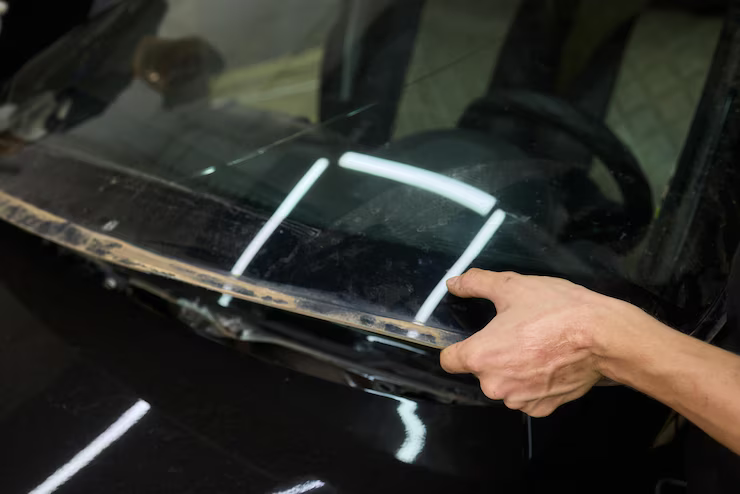
Not every cracked windshield requires professional intervention. The first step in repairing a cracked windshield is to identify the type of damage:

- Star crack: Small cracks radiating from a point
- Bullseye crack: Circular damage with a dark center
- Combination crack: A mix of bullseye and star patterns
- Edge crack: A crack that starts near the edge of the windshield
If the crack is smaller than a quarter and not in your line of sight, it's usually repairable.
Tools You’ll Need
Before you start learning how to repair a cracked windshield, make sure you have these tools:
- Windshield repair kit
- Glass cleaner and microfiber cloth
- Razor blade
- Curing strips
- UV light or direct sunlight (for curing)
You can buy a complete repair kit online or from auto parts stores.
Step-by-Step Instructions:
Step 1: Clean the Damaged Area Spray glass cleaner on the crack and surrounding area. Wipe it with a microfiber cloth. Let it dry fully to ensure the resin bonds properly.
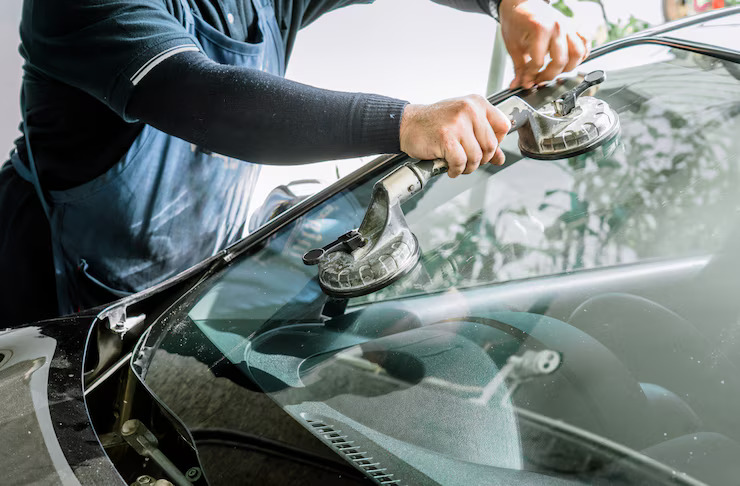
Step 2: Set Up the Applicator Most repair kits come with a suction base and resin applicator. Center the applicator over the crack. Seal it firmly to the glass.
Step 3: Inject the Resin Follow the kit's instructions to inject resin into the crack. Use slight pressure and tap the glass gently to remove air bubbles. Let the resin fill all cracks.
Step 4: Cure the Resin Place a curing strip over the area and park the car under sunlight for 15–30 minutes. Alternatively, use a UV lamp if indoors.
Step 5: Scrape Off Excess Resin Once cured, peel off the strip and use a razor blade to scrape off any excess resin. Clean the area again to finish.
By following these steps, you can effectively repair your cracked windshield and prevent further damage from occurring. Remember to act fast and use the right tools and techniques for a successful repair.


This DIY guide on Windshield Crack Repair offers a practical and straightforward approach to preventing further expansion of windshield cracks, saving time as well the cost needed for professional intervention.